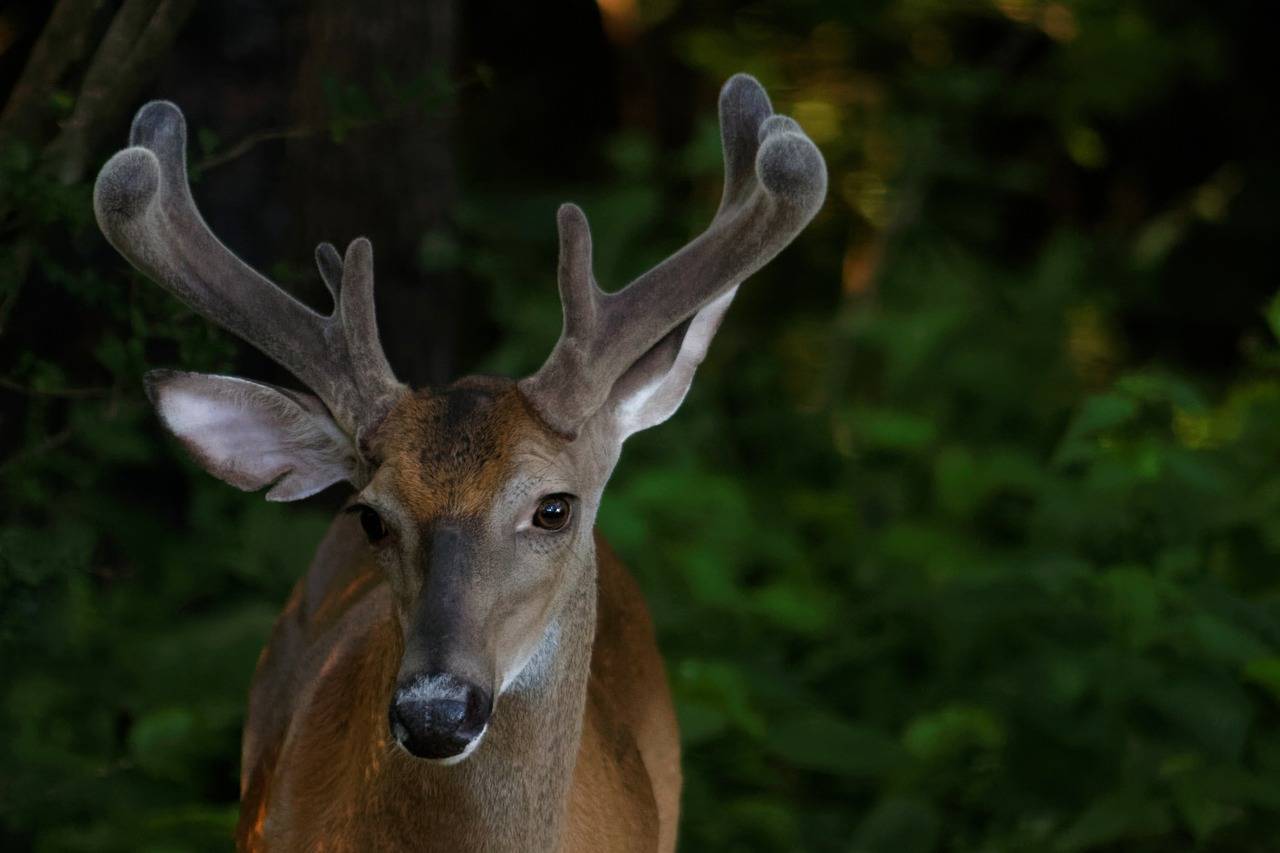
 Whitetail Deer in Velvet Whitetail Deer in Velvet |
Why do whitetail deer need minerals?
Spring has arrived, flowers are blooming, the grass is luscious and green and the temperatures are perfect and mild. This time of year deer are out recuperating from the stresses of winter and you can help them out by establishing deer mineral sites.
Food is plentiful right now and the deer are eating all they can to pack on the pounds for next winter. Many does are pregnant and require proper nutrition to ensure healthy fetal development and aid in lactation after they give birth. Meanwhile, bucks are growing their antlers. Providing them with minerals will supplement what they’re often lacking in their natural diet.
While spring green-up provides nutrients and protein-rich foods, it takes even more to rebuild antler growth for the male whitetail deer population.
What do you know about deer antlers?
Deer antlers are one of nature’s most remarkable phenomena, undergoing a fascinating process of growth and development unique to members of the deer family. Unlike horns, which are permanent structures composed of keratin and continuously growing throughout an animal’s life, antlers are temporary, bony outgrowths that are shed and regrown annually in most species of deer.
The growth of deer antlers begins in the spring as new antlers, called “pedicles,” emerge from bony sockets on the deer’s skull. These pedicles are covered in a layer of highly vascularized tissue known as velvet, which contains nerves and blood vessels essential for nourishing the growing antlers. As the antlers develop, they are initially soft and covered in a layer of velvet, which provides protection and aids in the delivery of nutrients to the growing bone tissue.
Antler growth is incredibly rapid, with some species capable of growing several inches per week during peak growth periods. As the antlers grow, they develop a branching structure composed of bony protrusions known as tines or points, which vary in number and configuration depending on the species and age of the deer.
Once the antlers reach their full size, typically by late summer or early fall, they begin to harden as the velvet covering dries up and is shed. This process, known as “antler hardening” or “velvet shedding,” is often triggered by decreasing daylight and changes in hormone levels. Once the velvet is shed, the antlers are fully formed and hardened, ready for use in sparring and mating rituals during the breeding season.

6 Bucks on Mineral Block at PixCams.com
https://pixcams.com/pa-wildlife-2/
5 tips to starting your mineral site
The spring and summer months are the most critical times of the year for deer to get enough minerals in their system. During this time of year, deer are consuming lush green vegetation that is high in water content. When they consume so much water they can’t maintain the minerals and salt in their diets.
After enduring the winter months when food sources might be scarce and of lower quality, deer need to replenish their bodies with essential minerals and nutrients. Mineral blocks provide a convenient and concentrated source of minerals like calcium, phosphorus, and trace minerals such as zinc and copper, which are vital for deer health, especially during antler growth and lactation for does.
Setting up a mineral site is easier than you may think. In just five simple steps, you can provide deer with essential minerals for optimal health and growth. (Before starting a site, check local regulations to ensure you meet any baiting or supplemental feeding restrictions.)
1. Use the proper minerals deer need
In the springtime, it’s essential to provide whitetail deer with mineral supplements that cater to their specific nutritional needs during this critical period. The proper minerals to put out for deer in spring include calcium, phosphorus, and trace minerals such as zinc, copper, selenium, and manganese. Calcium and phosphorus are particularly crucial for antler development in bucks and fetal development in does. Zinc and copper support overall health and immune function, while selenium and manganese play roles in various physiological processes, including antioxidant defense and bone formation. Offering a balanced mineral mix ensures that deer have access to the nutrients necessary for growth, reproduction, and overall well-being during this vital time of the year.
If you’re looking for fast and effective options, liquid minerals will seep right into the soil. They can also be poured onto logs and tree stumps, but they ,won’t last very long and you’ll have to reapply several times throughout the spring and summer. Blocks are a favorite and last the longest, but it takes more time for them to dissolve. Minerals in granular form can be mixed into the soil or with corn or other supplemental feed pellets.
TROPHY ROCK Redmond All Natural Mineral Salt Rock from Amazon
Price: $23.99, Click Here to Purchase
2. Where to put minerals out for deer
The best locations for mineral sites are food plots, bedding areas and near watering holes. When deer enter a food plot, they are usually seeking salt and minerals as well. By placing the mineral site just off a trail entering the food plot, you are creating a natural stopping point for them.
You’re now ready to choose a prime spot for your site. Because just throwing out a mineral product anywhere won’t deliver the results you want! Success is all about location. So where should you put a deer mineral site? An area with good attraction potential and where deer feel safe and comfortable.
These tips will help you pinpoint the perfect locale:
- Keep it off the beaten path. Choose a secluded location away from vehicle traffic but that’s easily accessible. A quick entry limits disturbance when visiting your site to recharge minerals or check your trail camera.
- Pick a spot where deer will find and use it. Opt for a small, open area on the edge of cover, such as a staging area, near deer bedding, food plots, or main trails.
- Place near water. Consider setting up mineral sites near water sources as deer need to drink regularly.
Once you’ve determined where to put your site, keep it there! Mineral sites get better with age, and deer will use them year after year if they’re in good locations and deer know where to find them.
3. Setting up your mineral site
You’ve picked up your product and scouted your site. Now it’s time to put out the minerals. Whether you’re using a block or salt rock, granular minerals or liquid, make sure to follow the manufacturer’s instructions for use. Combining different forms of mineral products can also raise the bar and deliver very good results.
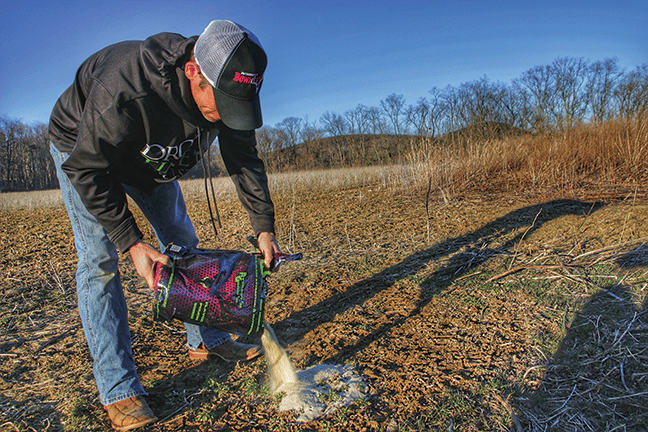 Creating a mineral lick Creating a mineral lick |
- Prepare the Site: Clear the chosen area of any debris, such as fallen branches or vegetation, to create a clean and level space for the mineral site. Ensure that the site is easily identifiable and accessible to both deer and humans.
- Place the Mineral Block or Supplement: Place the mineral block or supplement in the center of the site, making sure it is stable and secure. You can also use a sturdy mineral feeder or a shallow depression in the ground to hold loose mineral supplements.
- Create Mineral Licks: To enhance deer attraction, you can create mineral licks by digging shallow depressions in the ground around the mineral site and pouring loose mineral supplements into them. This encourages deer to lick and consume the minerals directly from the soil.
Antler King Lick Magic Apple Flavored Deer Mineral, 23 lb Bucket from Amazon
Price: $34.99, Click Here to Purchase
4. Monitor your mineral site
Regularly monitor the mineral site to ensure that deer are using it and that the mineral block or supplement remains adequately stocked. Replenish the minerals as needed, especially during periods of high deer activity or consumption.
Set up trail cameras near the mineral site to monitor deer activity and behavior. This can provide valuable insights into deer movement patterns, the effectiveness of the mineral site, and the overall health of the deer population in your area.
Try these simple tricks for setting up a trail camera at your mineral site:
- Place the camera approximately 15 feet from your mineral site.
- Anchor it about three feet up a tree or at eye level with visiting deer.
- Face the camera north or south to avoid sun glare.
- Angle it towards woods to give photos a better backdrop.
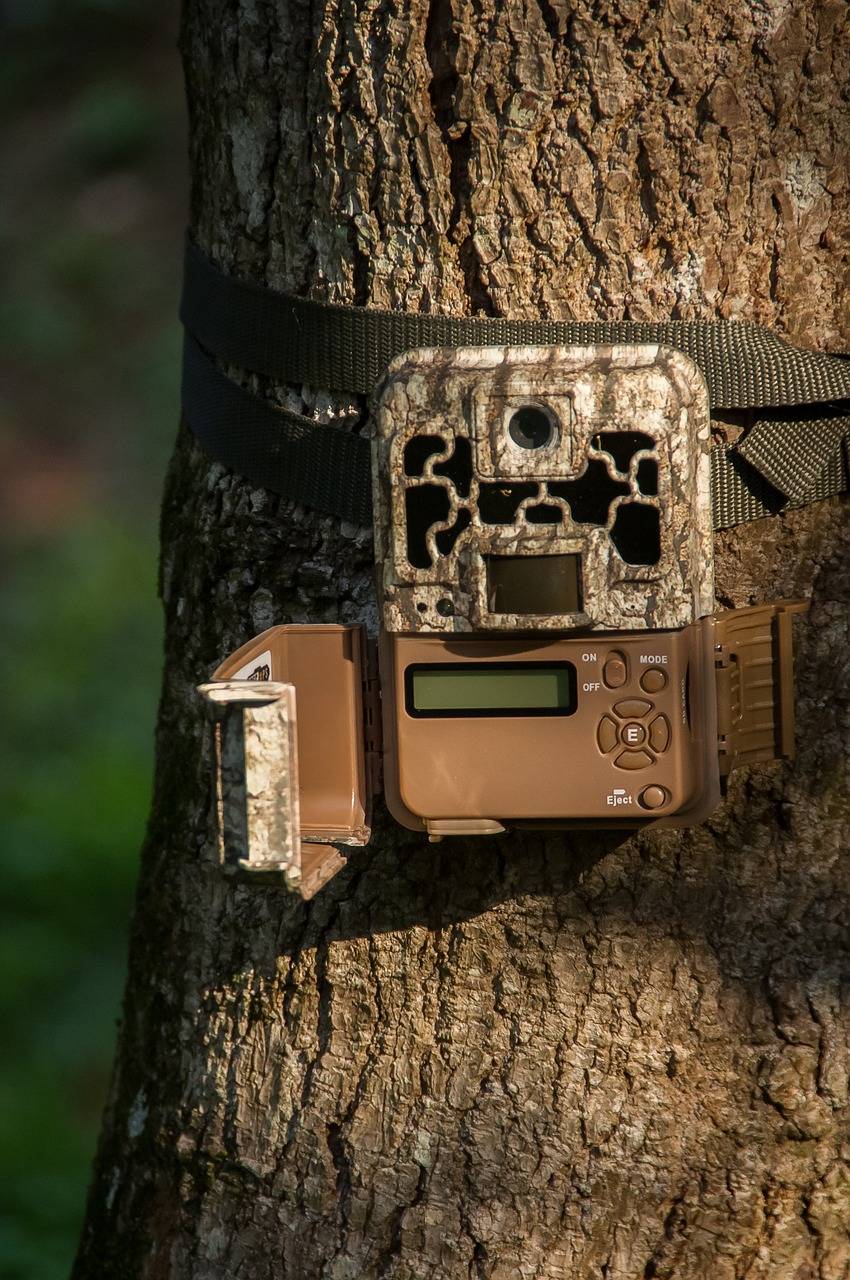 Trail Camera Trail Camera |
5. Managing and Maintaining your site
Managing your site throughout the year will provide valuable nutrition for deer and other wildlife for years to come. Your site will need some upkeep, though, to stay viable.
Adhere to Local Regulations: Before setting up a mineral site, familiarize yourself with any local regulations or restrictions regarding supplemental feeding of wildlife, as laws may vary depending on your location.
We advise against moving a mineral site if it’s not necessary, as most improve with age. If deer are hammering your site, that means they’re comfortable with its location and are relying on it for nutritional needs. Only consider relocating if you see a decline in activity, which could suggest deer patterns have changed or they’ve found a new nutritional source somewhere else. But as long as deer use your site, don’t change it!
Watching our live streaming mineral site
What the deer using our mineral block on PA Wildlife Cam 2!

https://pixcams.com/pa-wildlife-2/