Setting up your NestView™ camera system is easy and rewarding, bringing you a front-row seat to the wonders of nesting birds right in your own backyard. Whether you’re a seasoned bird watcher or just getting started, this guide will walk you through each step of the installation process—from mounting your NestView to connecting it for live streaming—so you can start enjoying stunning, real-time views of nature like never before.
What You Need To Get Started
Your bird or owl box
A Blink Outdoor Camera or HD Bird Box Camera
If using the Blink Outdoor Camera consider adding a solar panel
(4) #8 x 3/4″ pan head wood screws for mounting the NestView enclosure
If using the HD Bird Box camera you will need a M4 x 20mm mounting screw
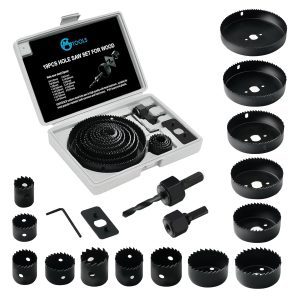
Hole Saw: (3 1/2″ recommended for Blink Outdoor camera) and (2 1/2″ recommended for HD Bird Box cameras)
Installing the NestView Enclosure On A Bird Nest Box
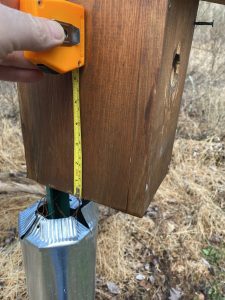
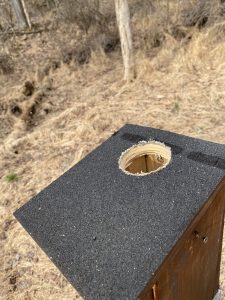
Before installing your NestView enclosure measure where you want the center of the camera to be located. We have found that mounting the camera on the side of a bluebird box the best placement was 5 3/4″ from the bottom. For top mounted camera we found that the best location was 4 3/8″ from the front.
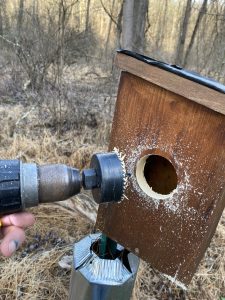
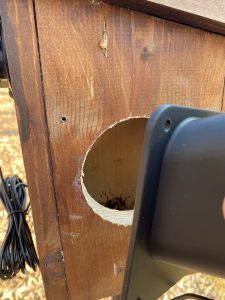
Next, using your hole saw cut a hole in the location you marked. We recommend using a 3 1/2″ hole saw for Blink Outdoor cameras and 2 1/2″ hole saw for HD Bird Box cameras. Note, the large hole for the Blink Outdoor Camera is needed because of the wide field of view these cameras have.
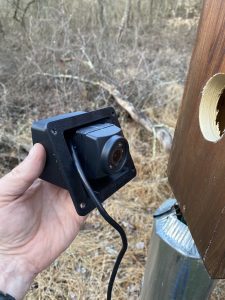
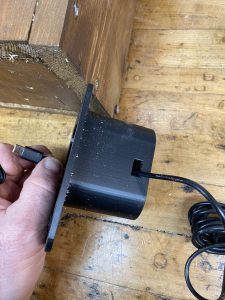
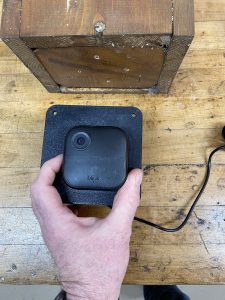
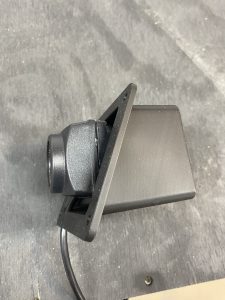
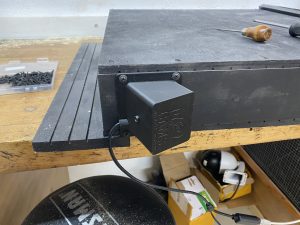
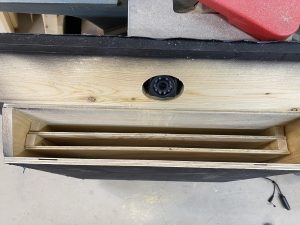
If mounting a HD Bird Box camera into the NestView enclosure mount the camera to the NestView with the M4 x 20mm screw as shown above.If mounting the Blink Outdoor Camera first feed the solar panel cable through the solar panel slot in the NestView shown above (if using a solar panel). Next, place the Blink Outdoor camera into the NestView enclosure. Be sure to mount the camera facing upward the same position as the PixCams logo on the back. You will note the NestView enclosure has a larger flange on one side that the other. This is to allow you to center the large 3 1/2″ hole on the camera. The Blink Outdoor 4 camera is offset to the left side.
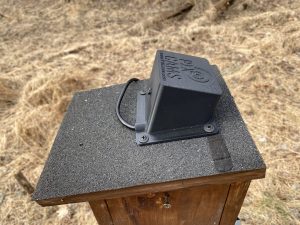
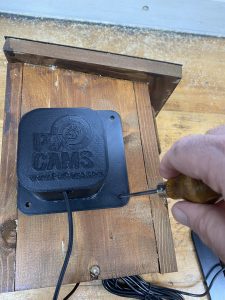
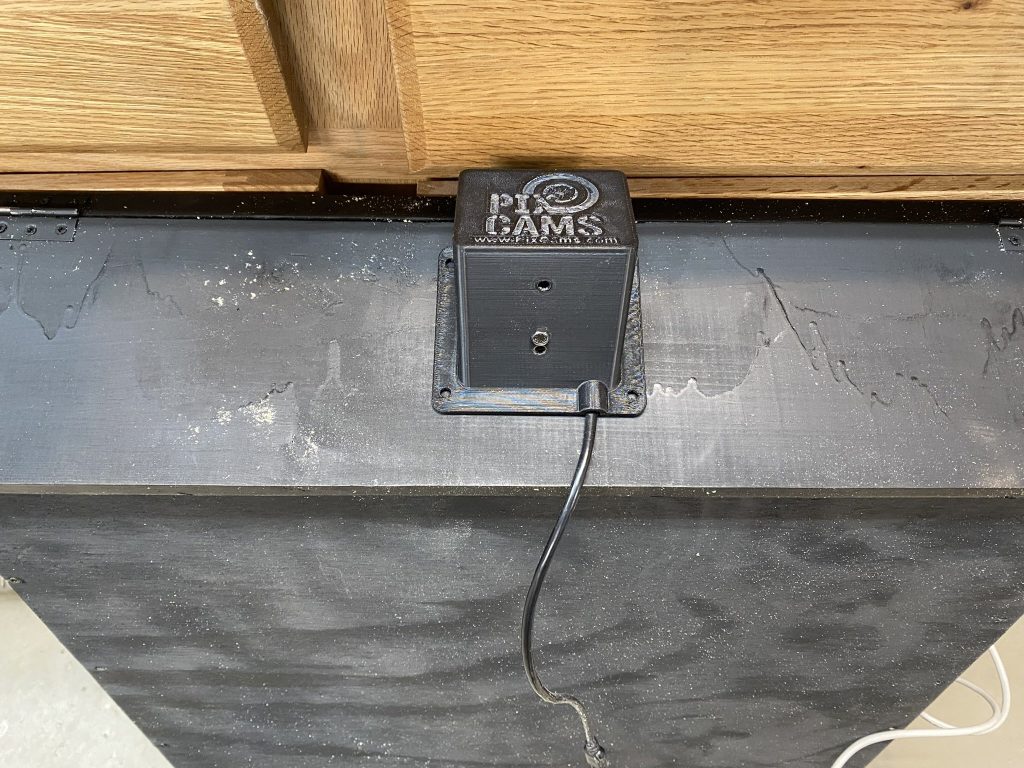
Next, mount the NestView enclosure with camera on the nest box using the (4) #8 x 3/4″ flat head wood screws. When mounting the HD Bird Box camera run the ethernet cable through the cable guide as show above. If using the WiFi version of the HD Bird Box run the antenna and power cable through the cable guide. If you are using the Blink Outdoor Camera and using the solar panel you can use the same mounting screws to mount the solar panel to the next box.
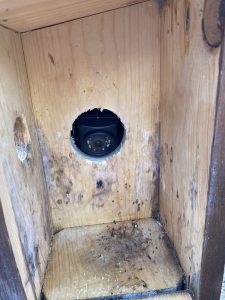
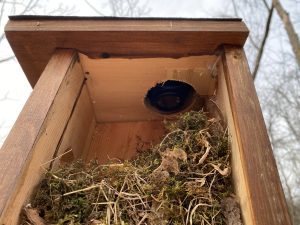
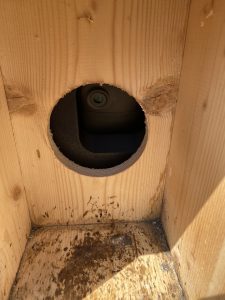
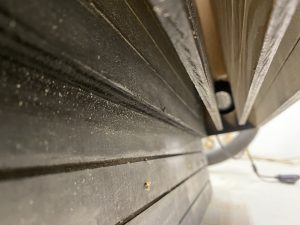
Above are photos inside the nest box showing the camera view. Note the far right photo. This is a Blink Outdoor 4 camera mounted in the angled NestView enclosure. Note that the camera needs to be mounted at the top of the hole to get the best view without obstructions.
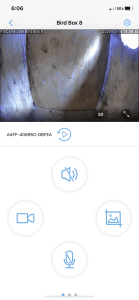
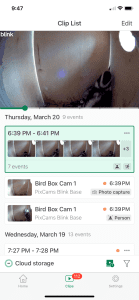
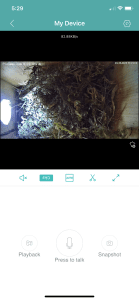
Be sure to check your camera with the suggested phone APP to check the view of your camera and adjust the NestView mounting if needed.
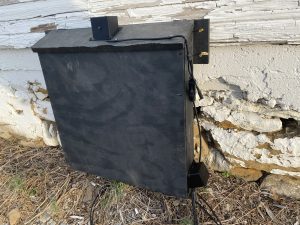
Installing NestView In A Bat Box
The NestView camera enclosure can also be used to install a camera inside a bat box. In the photos below, you can see a recent project where we installed two cameras in a bat box—one positioned at the top looking downward, and another focused on the entrance for optimal viewing.