Installing the BirdKiss AI Smart Bird Feeder in a Remote Location
A PixCams Review
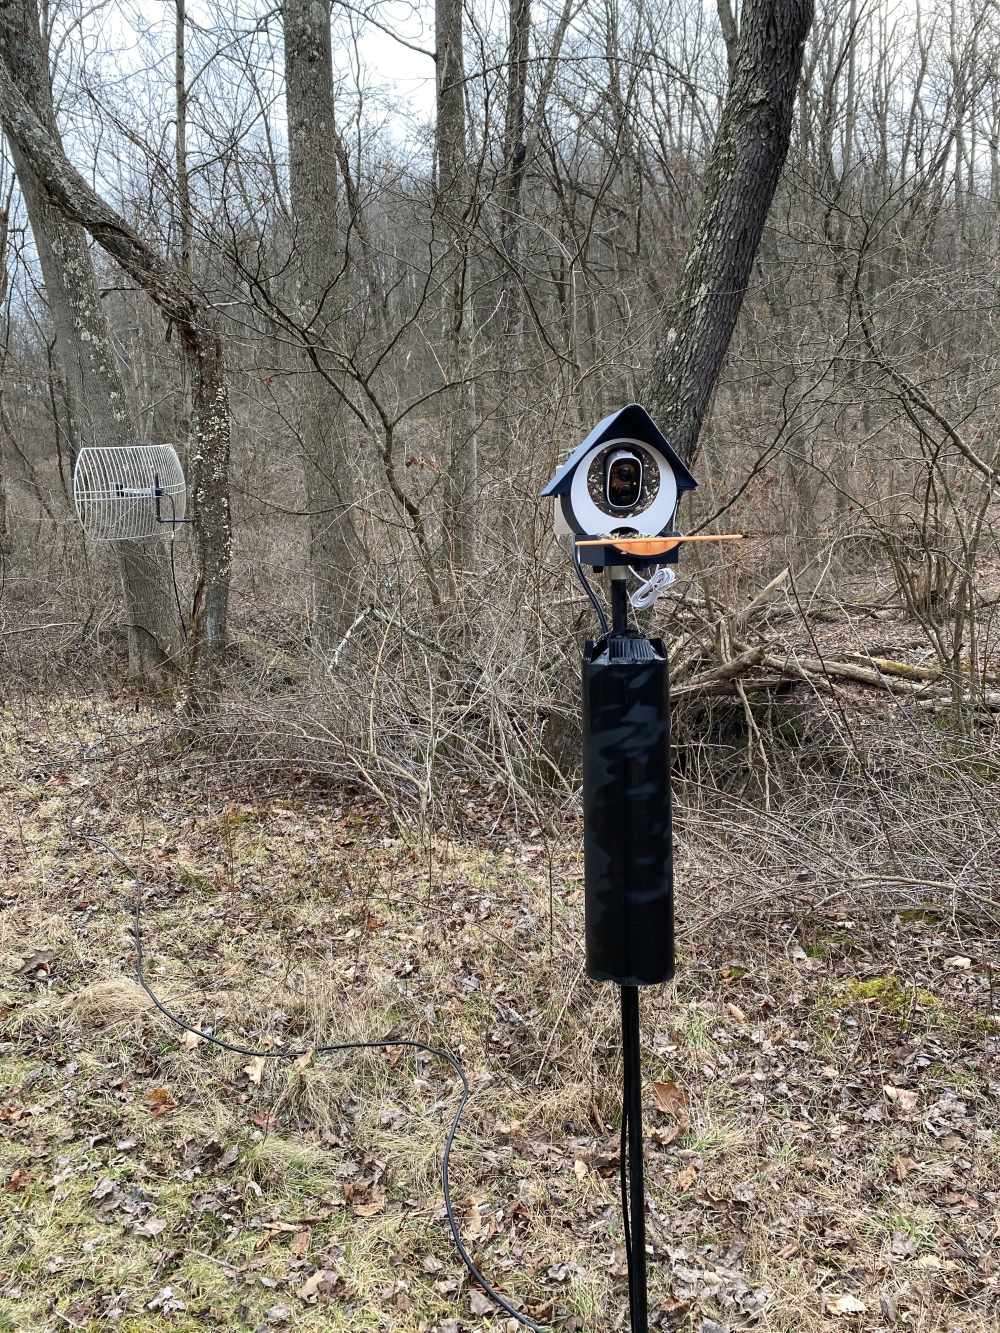
We have been testing the new BirdKiss AI Smart Bird Feeder for a little over two weeks now. Our most recent test involved moving the bird feeder station into a more remote area. Since the design of this bird feeder station is very modular, it was a simple task to move this feeder further out on our property, away from urban life, to get it into an area where more birds live.
We feel this type of technology will be extremely beneficial to the birding community in the coming years. Autonomous bird feeding stations that can identify birds through AI will help scientist track and count species in any given area that is needed to understand our environment.
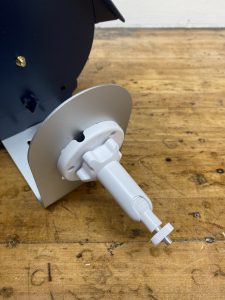
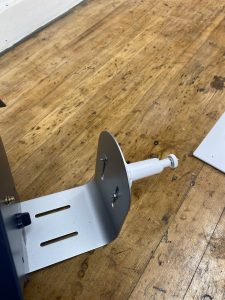
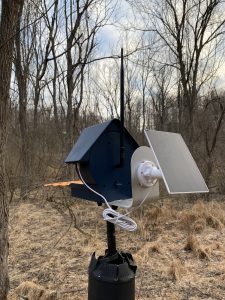
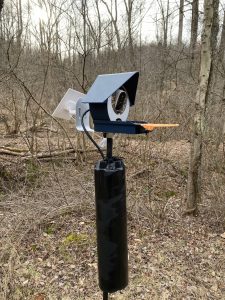
The first thing you will need to do is attach the solar panel mount to the back of the metal mounting plate that comes with the BirdKiss bird feeder as shown above. To attach the solar panel mount to the mounting plate you will need (2) #6 or #8 sized machine screws about 1/2″ with flat washers and a nut.
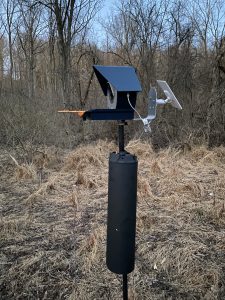
Next, mount the BirdKiss bird feeder station with solar panel to a 1″ metal pole that’s about 6 feet long. We also attached a baffle to our pole to keep squirrels from getting on the feeder. The metal bracket that comes with the BirdKiss feeder has a 1″ mounting hole on the bottom with a set screw that holds it into place.
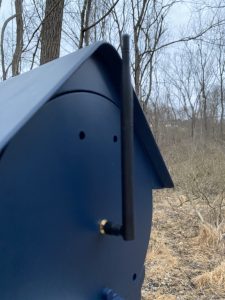
The WiFi antenna that comes with the BirdKiss feeder is a low gain monopole antenna and has a standard RP-SMA connector used on most external WiFi antennas. That’s one feature we love about this feeding system! The antenna that’s included with the feeder may have a range of about 100′ from your home WiFi access point.
But, what if you want to move it deeper into the woods?
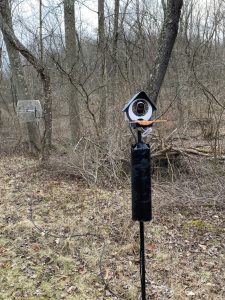
There are many options for higher gain WiFi antennas, especially since the WiFi antenna is removable and has the standard RP-SMA connector. Pictured above is a high gain 12 DBi monopole antenna we purchased from Amazon for less that $15. This will extend your range to about 200′ from your home WiFi access point. When purchasing a WiFi antenna make sure this is a 2.4GHz antenna and not a 5GHz antenna. The BirdKiss only supports 2.4GHz WiFi. Here is a link to the one we used on Amazon: 12DBi WiFi Antenna, 2.4G/5G Dual Band High Gain Long Range WiFi Antenna with RP SMA Connector.

Other options to extend the range of installing your BirdKiss feeder in a remote location is to install an outdoor WiFi Access Point Extender. With the far-reaching network system we have installed at PixCams, we have several outdoor network switch boxes where we are able to install outdoor WiFi access points. We recently installed the WAVLINK AC1200 Outdoor Wireless High Power Weatherproof WiFi Long Range Extender that we purchased from Amazon for about $75. This allowed us install the BirdKiss feeder system about 1/2 mile from our home.
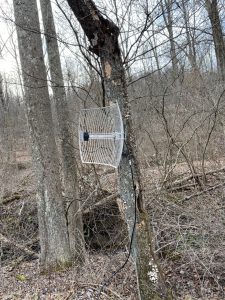
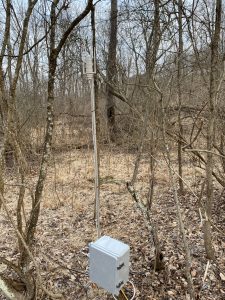
Other long range options are the WiFi parabolic antennas as shown above. We had a spare parabolic WiFi antenna from an older camera project that we tested with the BirdKiss feeder. This extended our range to about 1/4 mile from our WiFi access point. This antenna is a Premiertek Outdoor 2.4GHz 24DBI Directional High-Gain we purchased from Amazon for under $120. These antennas come standard with a N-Type connecter, so you will need to purchase an N to RP-SMA cable in order to use an antenna like this in the field.
Here are a few example videos captured using our BirdKiss AI Smart Bird Feeder installed in a remote location.
Great information shared.. really enjoyed reading this post thank you author for sharing this post .. appreciated