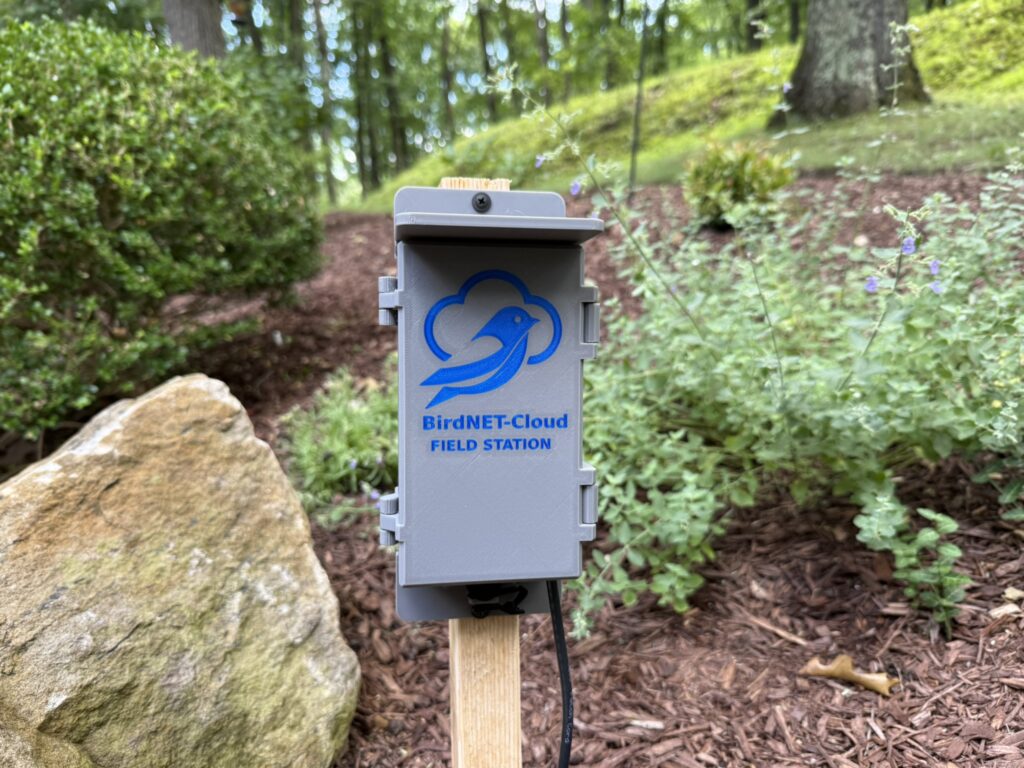
BirdNET-Cloud Assembly

Build Your First BirdNET-Cloud Station

Welcome to the BirdNET-Cloud installation guide! This step-by-step walkthrough will show you how to build your own AI-powered wildlife listening station using an inexpensive Raspberry Pi. Whether you’re interested in identifying birds singing in your backyard or monitoring bats after dark, you’ll find everything you need to get started here.

We’ll begin with the most popular setup—a BirdNET-Cloud Bird Station using a standard USB microphone. This configuration works with either Wi-Fi or wired Ethernet, making it easy to deploy almost anywhere around your home, yard, or nature center. Once you’re comfortable with the basics, we’ll show you how to build a BirdNET-Cloud Bat Station using the AudioMoth USB Microphone, allowing you to detect and identify ultrasonic bat echolocation calls throughout the night.

Each guide includes the recommended hardware, assembly instructions, software setup, and tips we’ve learned from deploying these systems in backyards, nature preserves, and conservation projects. Our goal is to make building a BirdNET-Cloud station approachable for everyone—from first-time Raspberry Pi users to experienced makers.

By the end of these guides, you’ll have your own always-on wildlife listening station that automatically identifies birds or bats, uploads detections to the cloud, and lets you explore your local wildlife from anywhere in the world.

Assembling a BirdNET-Cloud Bird Station

Now it’s time for the fun part, building your BirdNET-Cloud Bird Station! In this guide, we’ll assemble a compact, weather-resistant station using a Raspberry Pi 4, a heatsink, a USB lapel microphone, and the PixCams BirdNET-Cloud Field Station enclosure. The entire system is designed to be affordable, reliable, and easy to deploy, whether it’s mounted in your backyard, at a nature center, or as part of a larger conservation project.

Don’t worry if you’ve never assembled a Raspberry Pi before. There are only a handful of components, and they fit together quickly with just a few basic tools. Once complete, you’ll have a professional-looking field station that can listen for birds around the clock, automatically identify their songs and calls, and upload every detection to BirdNET-Cloud for you to explore from anywhere in the world. See the step-by-step instructions below. Click on any image to enlarge. 

Here are a list of components you will need to complete your Bird Station Project:

Total: $152.31

Start by inserting the USB-C right angle adaptor into the Raspberry Pi USB-C Power Port

Next, plug the power supply into the right angle adaptor

Put the Raspberry Pi board into the case and secure with the heatsink and screws that come with the heat skin to the encloser. Note: Do Not use heatsinks with built in fans. They will cause noise in your microphone.

Plug the lapel USB microphone into the Raspberry Pi USB port and attach the lapel clip to the enclosure as shown above

Your system is complete if you plan to use WiFi connectivity to the BirdNET-Cloud

Above is an example mounting option. Note you may need to put the power supply plug into an outdoor weatherproof enclosure.

Alternatively, you can connect the BirdNET-Pi Station to wired ethernet up to 100 meter cable length.

The case can also support Power-over-Ethernet (PoE) USB-C 5V Splitter – Use this model from Amazon $14.99. Note: Do Not use the Raspberry Pi PoE HAT board. They do not have enough power to support the microphones. 

Plug the USB-C cable into the right angle USB-C adaptor and plug the Ethernet cable into the Raspberry Pi ethernet port.

This is how to place the splitter into the enclosure so it will close properly.

Example of a BirdNET-Cloud Station mounted to a pole using zip ties.

Assemble and Configure the AudioMoth USB Microphone

The AudioMoth USB Microphone is one of the most affordable full-spectrum ultrasonic microphones available today, making it an excellent choice for bat monitoring without the high cost of traditional ultrasonic equipment. When paired with the PixCams AudioMoth USB Enclosure, it creates a rugged, weather-resistant microphone that’s perfect for building a dedicated BirdNET-Cloud Bat Station or a Hybrid Bird + Bat Station capable of monitoring wildlife around the clock. The AudioMoth USB Microphone streams both audible and ultrasonic audio directly over USB to the Raspberry Pi, making it an ideal companion for BirdNET-Cloud.

Before assembling your station, you’ll first need to configure the microphone. The AudioMoth team provides a free AudioMoth USB Microphone App for Windows, macOS, and Linux that lets you select the sampling rate, ultrasonic filter settings, and other options before connecting it to your Raspberry Pi. Once configured, these settings are stored on the microphone, so you’re ready to deploy your station in the field.

To get started:

In the following steps, we’ll configure the AudioMoth USB Microphone, install it into the PixCams AudioMoth USB Enclosure, and connect it to your Raspberry Pi to create a compact, weatherproof station that’s ready to monitor bats, birds, or both 24 hours a day. See the step-by-step instructions below. Click on any image to enlarge. 


The PixCams AudioMoth USB enclosure (shown above) includes wood screws for mounting to a wooden post for tie wraps for mounting to a pole

First you need to configure the AudioMoth USB microphone for the BirdNET-Cloud bat station. Set the switch on the side to USB/OFF

Next, plug the AudioMoth into a USB-A Data cable and the other end into your PC

Run the AudioMoth USB Microphone App. You should see the Green LED light up solid on the AudioMoth. Next select a Sample Rate of 250, Gain set to Med, un-check the Enable LED, and Filter type None. Then press the “Configure Microphone” button at the bottom.

Unplug the AudioMoth from your PC and set the switch to Custom.

Keep the USB-A cable plugged into the AudioMoth board. We recommend using a 10′ USB-A data cable like this from Amazon – $11.99 (2-pack).

Place the AudioMoth USB board into the bottom of the enclosure as shown above

Then snap the front cover on top of the enclosure

Next, plug the AudioMoth USB cable into the Raspberry Pi USB connector and rout the cable outside the BirdNET-Cloud enclosure.

Your BirdNET-Cloud Bat or Hybrid station is ready to deploy!

We recommend using an aluminum pole to mount the AudioMoth and BirdNET-Cloud Station. You can use the included zip ties to attach both to the pole.

Mount the AudioMoth microphone high to get it closer to the bats and above the insects on the ground.

BirdNET and BattyBirdNET are released under the Creative Commons Attribution-NonCommercial-ShareAlike 4.0 International License (CC BY-NC-SA 4.0); Nighthawk is released under the Creative Commons Attribution-NonCommercial 4.0 International License (CC BY-NC 4.0). BirdNET-Cloud is an independent conservation project by PixCams and is not affiliated with or endorsed by the Cornell Lab of Ornithology.