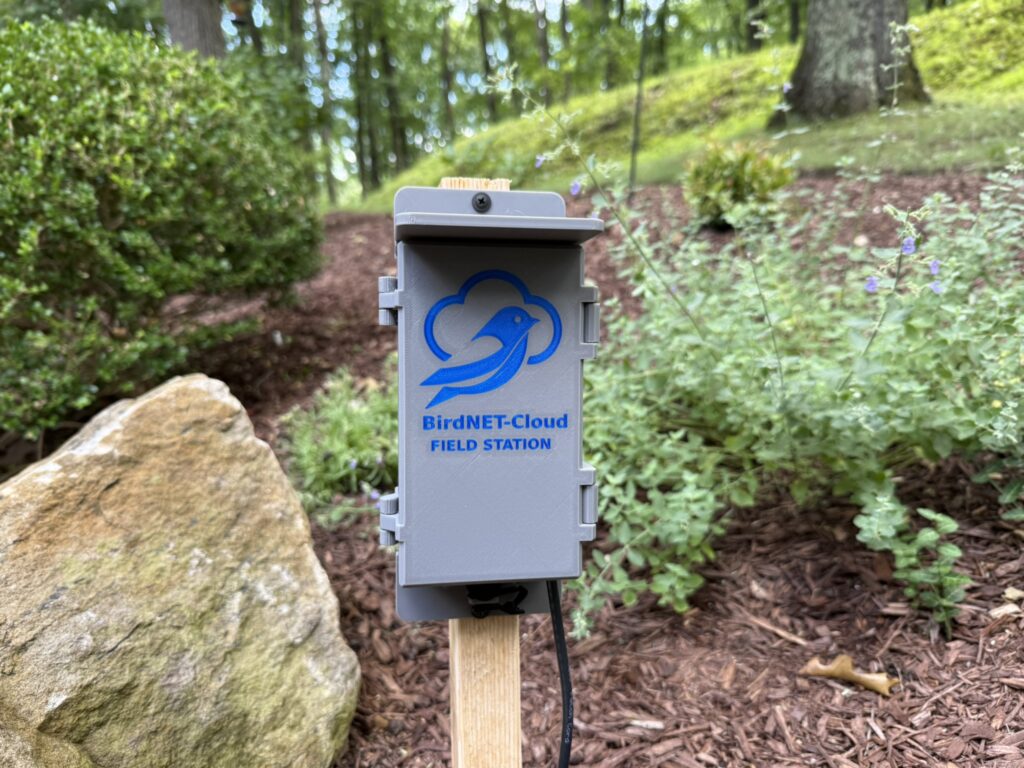
Setting up your first BirdNET-Cloud station is much simpler than it might sound. If you can download a program, write an SD card, and copy and paste a few commands, you have everything you need. This guide walks you through every step, from preparing your Raspberry Pi to hearing your first birds, so even if you’ve never used a Raspberry Pi before, you’ll be up and running in about 20–30 minutes.
Before we begin, you’ll need two free applications installed on your computer:
Raspberry Pi Imager – Used to install the Raspberry Pi operating system onto your microSD card. It is available for Windows, macOS, and Linux. Download it here: Raspberry Pi Imager.
PuTTY (Windows users) – A free SSH terminal that lets you securely connect to your Raspberry Pi and install BirdNET-Cloud with just a few commands. Download it here: PuTTY Download.
Using a Mac? Good news, you don’t need PuTTY. macOS includes an SSH client built right into the Terminal application, so you can follow the same instructions without installing any additional software.
Let’s get your Raspberry Pi ready to become a 24/7 BirdNET-Cloud wildlife listening station! The tutorial below will walk you through the process step-by-step. Click on any image to enlarge it.
Step 1: Installing the Raspberry Pi Operating System
Insert the Micro SD Card into your card reader on your PC or Mac
Open the Raspberry Pi Imager software
Select what model of Raspberry Pi you have
Scroll down and select “Raspberry Pi OS (other)“
Select Raspberry Pi OS Lite (64-Bit)
Choose the SD card you inserted
Pick a name for your device and put it in the hostname.
Select your time zone and keyboard layout
Choose a username and password for logging into your Raspberry Pi. Remember to write this down!
Select the WRITE button to start writing the OS to your Raspberry Pi
Click on yes you understand message
The write/verity process will start. This will take about 3-4 minutes to complete.
Once complete press FINISH and remove the micro SD card from your reader.
Step 2: Installing the BirdNET-Cloud Station Software on your Raspberry Pi
With your Raspberry Pi board unplugged from the power adapter insert the Micro SD card into your Raspberry Pi.
Plug in the power adaptor. Note: You must wait 4-5 minutes for the OS to completely install on your Raspberry Pi. It will connect to your WiFi network you set up in the previous steps.
Next, run Putty or your SSH application and type in the hostname your created above plus “.local”. Our example was the hostname “winniepalmer” so we enter “winniepalmer.local“
You should see this message. Press “Accpet”
Log into your Raspberry Pi with the username and password you created above.
After you login you should see a screen similar to this.
Next, select the “My stations” link in the green panel on the left
Click the green “Add a station” button in the upper right hand corner
If you are creating a Bird station press the “Bird” station button. Give the station a name, select the city, Raspberry Pi model, and enter the GPS location where the station will be installed in decimal format. You MUST enter this information. The BirdNET model is geographic dependant.
If you do not know your GPS location then go to https://earth.google.com/ and find your location. The GPS location will be displayed in the lower right had corner. Once you have entered the GPS location on BirdNET-Cloud press “Create“
Next, press the “Copy” button where the Red Arrow is pointed.
It should say “Copied!“
Next, go back to your Putty or SSH window and where the prompt is hit the “left mouse button“. This will copy that text into your Putty or SSH window. then press “Enter” on your keyboard.
This will start the installation of the BirdNET-Cloud Station software on your Rapberry Pi
This process will take a good 5-minues or more.
Once it’s done you will see the message “Install complete!“
Close down your Putty or SSH application.
Now go back to the BirdNET-Cloud browser window and press the “Done” key in the lower right hand corner
Do a hard refresh of your browser window <Ctrl><Shift><R> keys. You should now see your station say “Online” Press the “Live View” button on your station to test out your microphone.
Press the “Start live view” button in the upper right hand corner
After 15-20 seconds you should see a image like above. This is a spectrogram image your microphone has picked up. Congratulations! Your station is LIVE!
BirdNET and BattyBirdNET are released under the Creative Commons Attribution-NonCommercial-ShareAlike 4.0 International License (CC BY-NC-SA 4.0); Nighthawk is released under the Creative Commons Attribution-NonCommercial 4.0 International License (CC BY-NC 4.0). BirdNET-Cloud is an independent conservation project by PixCams and is not affiliated with or endorsed by the Cornell Lab of Ornithology.